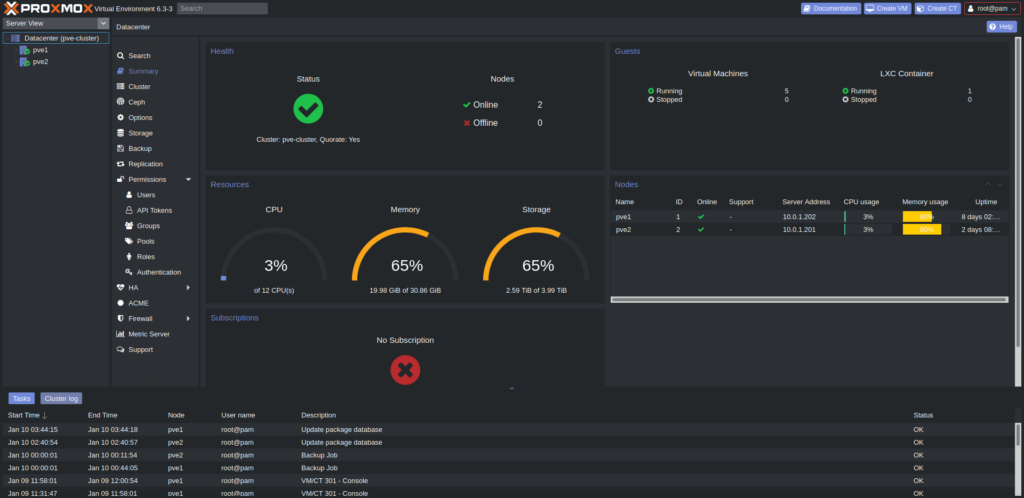
Building a Proxmox server in your home lab is an exciting venture, offering boundless opportunities for learning, experimentation, and even practical applications. However, to ensure optimal performance, reliability, and security of your Proxmox environment, it’s essential to follow best practices during setup. In this guide, we’ll outline eight key practices to help you make the most of your Proxmox server at home.
1. Plan Your Hardware Configuration
Before diving into installation, carefully consider your hardware setup. Ensure your server has ample RAM, CPU cores, and storage capacity to accommodate your virtualization needs. Investing in quality hardware upfront can prevent performance bottlenecks and scalability issues down the road.
2. Install Proxmox on a Dedicated Machine
For optimal performance and resource allocation, it’s advisable to install Proxmox on a dedicated machine rather than running it alongside other applications or services. This minimizes potential conflicts and ensures that your Proxmox server operates smoothly.
3. Implement Regular Backups
Backup your Proxmox configuration, virtual machines, and containers regularly to safeguard against data loss. Proxmox provides built-in tools for backups, including vzdump for virtual machines and pct for containers. Additionally, consider offsite backups or cloud storage for added redundancy.
4. Configure Network Settings Securely
Secure your Proxmox server by configuring network settings properly. Utilize firewalls, VLANs, and strong passwords to protect against unauthorized access and potential security breaches. Consider segregating management and virtualization traffic for enhanced security.
5. Monitor System Performance
Keep a close eye on system performance metrics to identify potential issues and optimize resource utilization. Proxmox offers built-in monitoring tools, such as the Proxmox web interface, Grafana, and Prometheus, for real-time performance monitoring and analysis.
6. Stay Up-to-Date with Updates and Patches
Regularly update your Proxmox server to ensure you have the latest features, bug fixes, and security patches. Proxmox provides timely updates via the built-in update mechanism, making it easy to keep your system current and secure.
7. Utilize High Availability (HA) Features
If high availability is critical for your home lab setup, consider leveraging Proxmox’s high availability features. HA clustering allows you to distribute virtual machines across multiple physical nodes, ensuring continuity of service in the event of hardware failures or maintenance.
8. Document Your Configuration and Procedures
Maintain detailed documentation of your Proxmox server configuration, including network settings, storage configurations, virtual machine specifications, and backup procedures. Documentation serves as a valuable reference for troubleshooting, scaling, and replicating your setup in the future.
Conclusion
By adhering to these best practices, you can optimize the performance, reliability, and security of your Proxmox server in your home lab. Whether you’re a seasoned sysadmin or a curious hobbyist, following these guidelines will help you get the most out of your Proxmox virtualization environment. So, roll up your sleeves, implement these practices, and embark on a journey of exploration and innovation with Proxmox in your home lab!
